
How To Make A Graphic Design With Photoshop (Best Quality/Detail)
Part A: Download Photoshop (or any FREE Raster Graphics Editor Like Inkscape & Gimp)
Part B: Create your canvas & design on Photoshop using an iMac and/or drawing your own with an iPad using an Apple Pencil or the more affordable Cisteen Stylus Pen.

Step 1: Open Photoshop app and click on new file.

Step 2: Create new document by inches setting canvas to 8 x 8 inches, with 300 PPS and 16 bit resolution. Bigger the canvas the less distortion it is on the image for when you want to shrink it. Making the canvas smaller then, trying to size the image up will leave it choppy and pixelated. Always use a ruler as a reference for how big or small you want your design to be on a t-shirt.
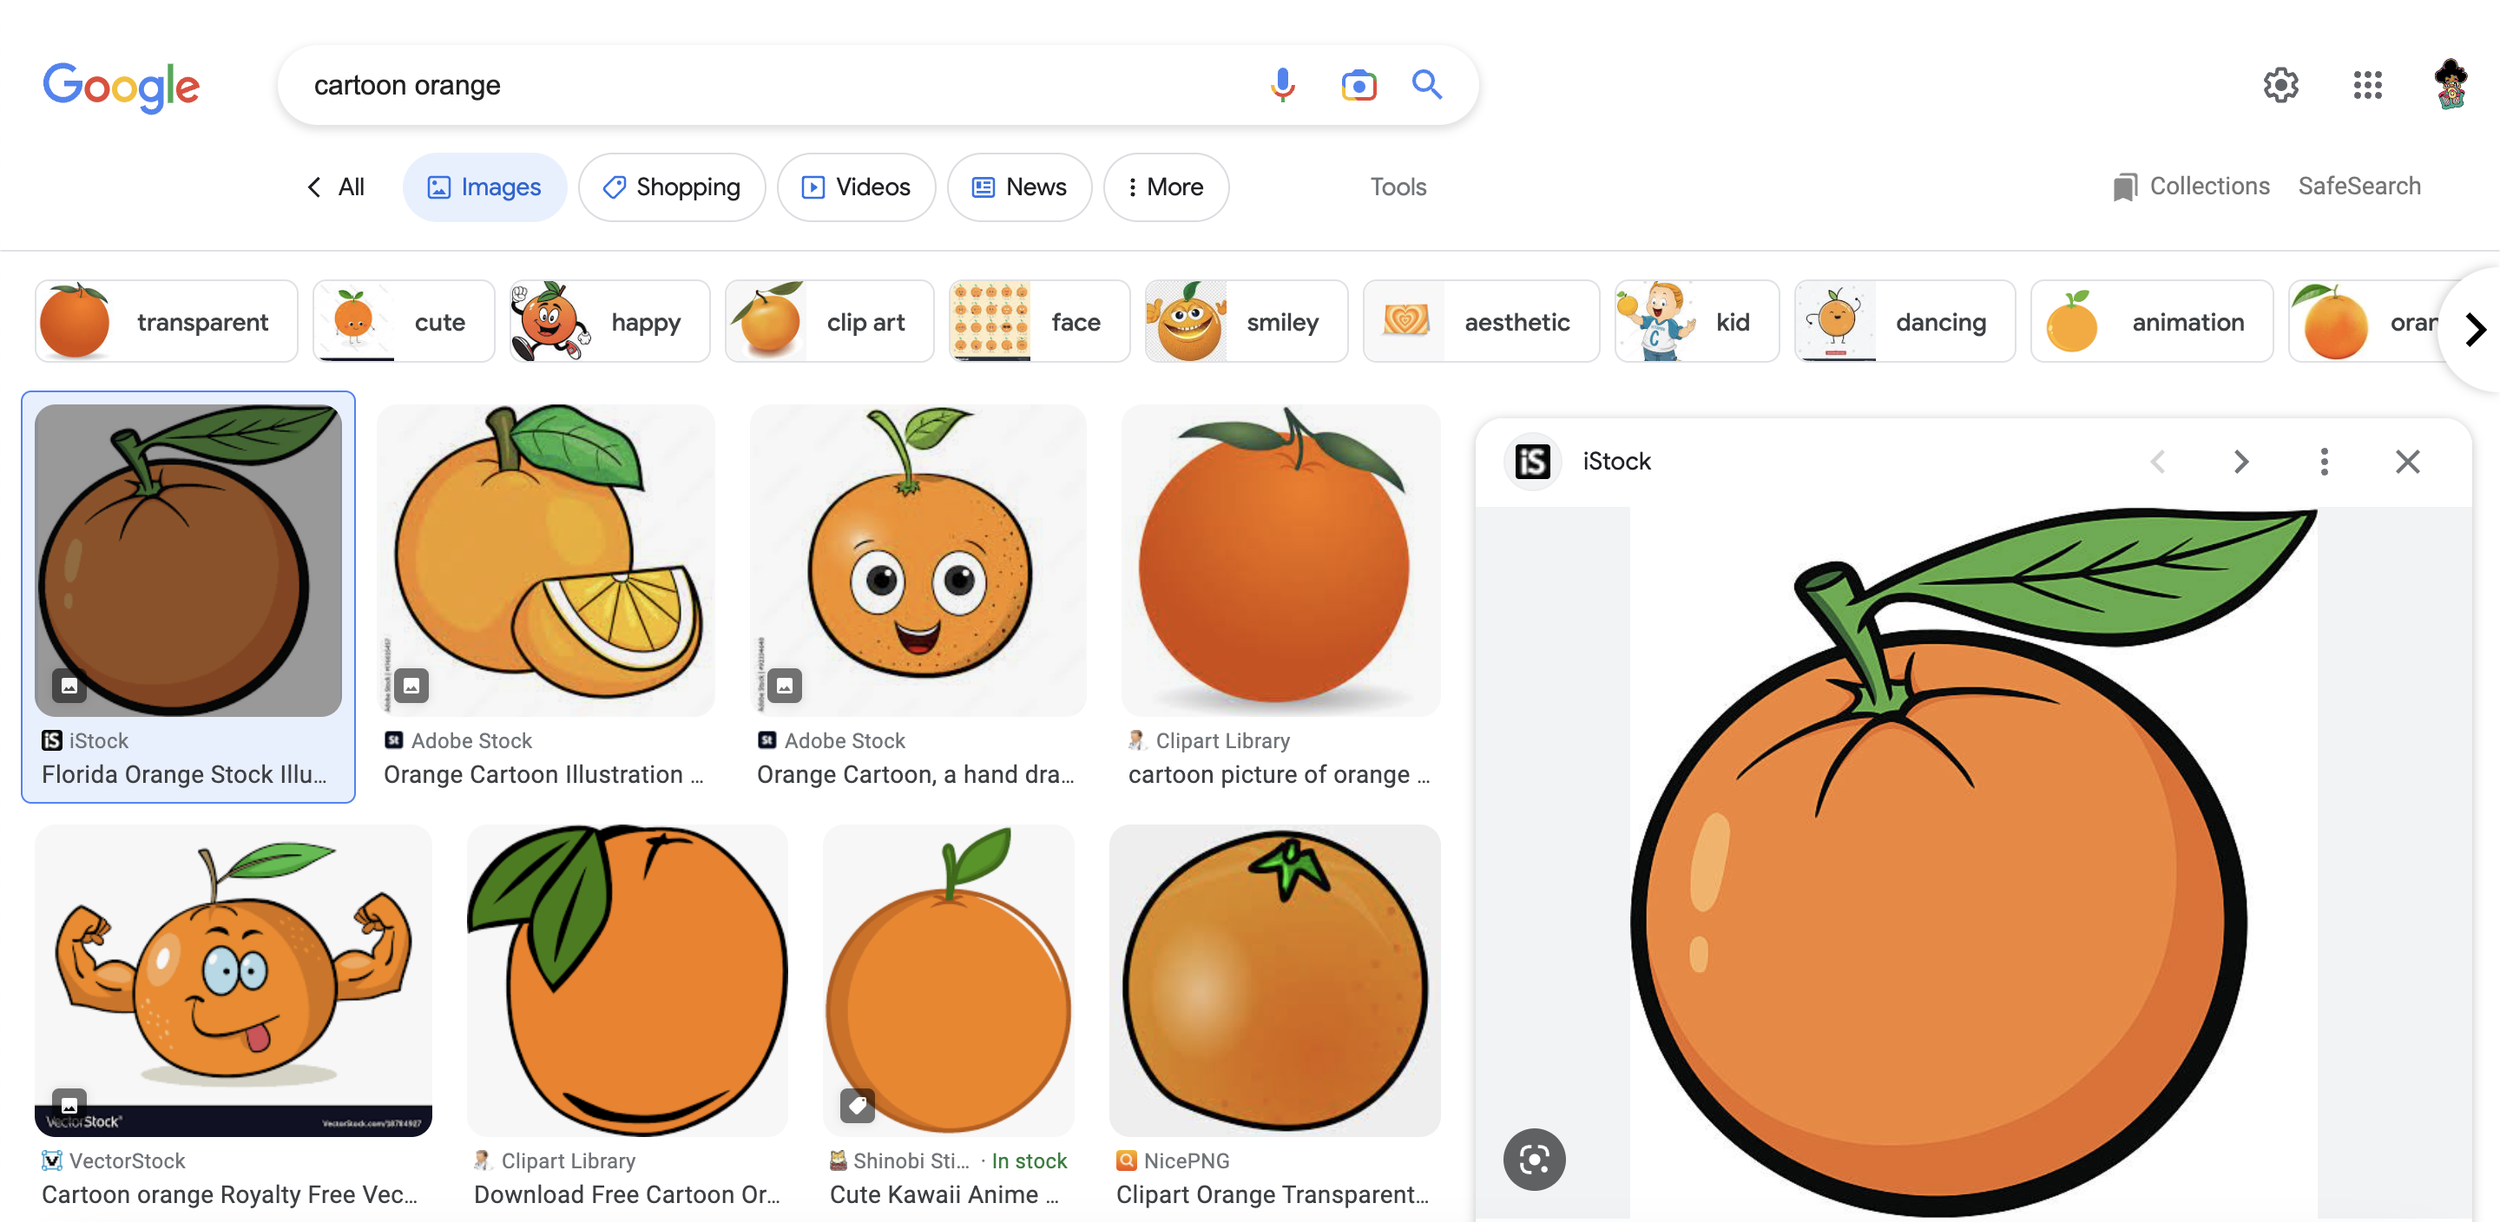
Step 3: Search Google using keywords for your fresh idea like cartoon orange and click on images tab.

Step 4: Hit SHIFT+Command+4 to screenshot desired graphic, then drag and drop into Photoshop.

Step 5: Cut outline of the orange using the Polygonal Lasso Tool at the top right of display. Start at any point and wrap around the whole design leading to where you started. The brim of image will flash with transparent half cut lines giving you the cue to hit the (Select and Mask) button.

Step 6: Scroll all the way down the Properties tab in the top right corner clicking onto the Output To button selecting the New Layer option.

Step 7: Cut orange in half using the eraser tool to make way for the sunset fusion. *Quick Tip: Click one end of design and then holding the SHIFT clicking the other end to erase in a straight line.

Step 8: Find that inspiration fusing simple or complex backgrounds that might compliment the initial idea to mold your final design. Like possibly cutting the cartoon orange in half, placing it in front of this palm tree sunset. Utilizing the lines at the bottom to swirl downward like the sun glaring off the ocean.

Step 9: Keep designing and form your masterpiece. Found this further down the palm tree sunset search and instantly knew this would be the perfect match for our half eaten orange. The cream color with the orange is nice but the yellow and red stick out alongside the blue.

Step 10: Keep Tweaking! The cream color with the orange is nice but the yellow and red stick out alongside the blue.

Step 11: Finally form your new graphic design! Ended up drifting away from our orange sunset theme and came up with the orange melting between 2 cream fillings; Presenting you with “Orange Theory”.

Step 12: Hit the Edit tab and open up Color Settings.

Step 13: Keep setting default on North America General Purpose 2 and choose preferred RBG profile but keeping it at default is ok.

Step 14: Hit Convert To Profile from Edit tab.

Step 15: Click on RBG and double check if the color settings and Color Profile correlate.

Step 16: Once the design is blessed with the final touches, hit File and export as PNG in desired file location. Organize your files and highly recommend an external hard drive.